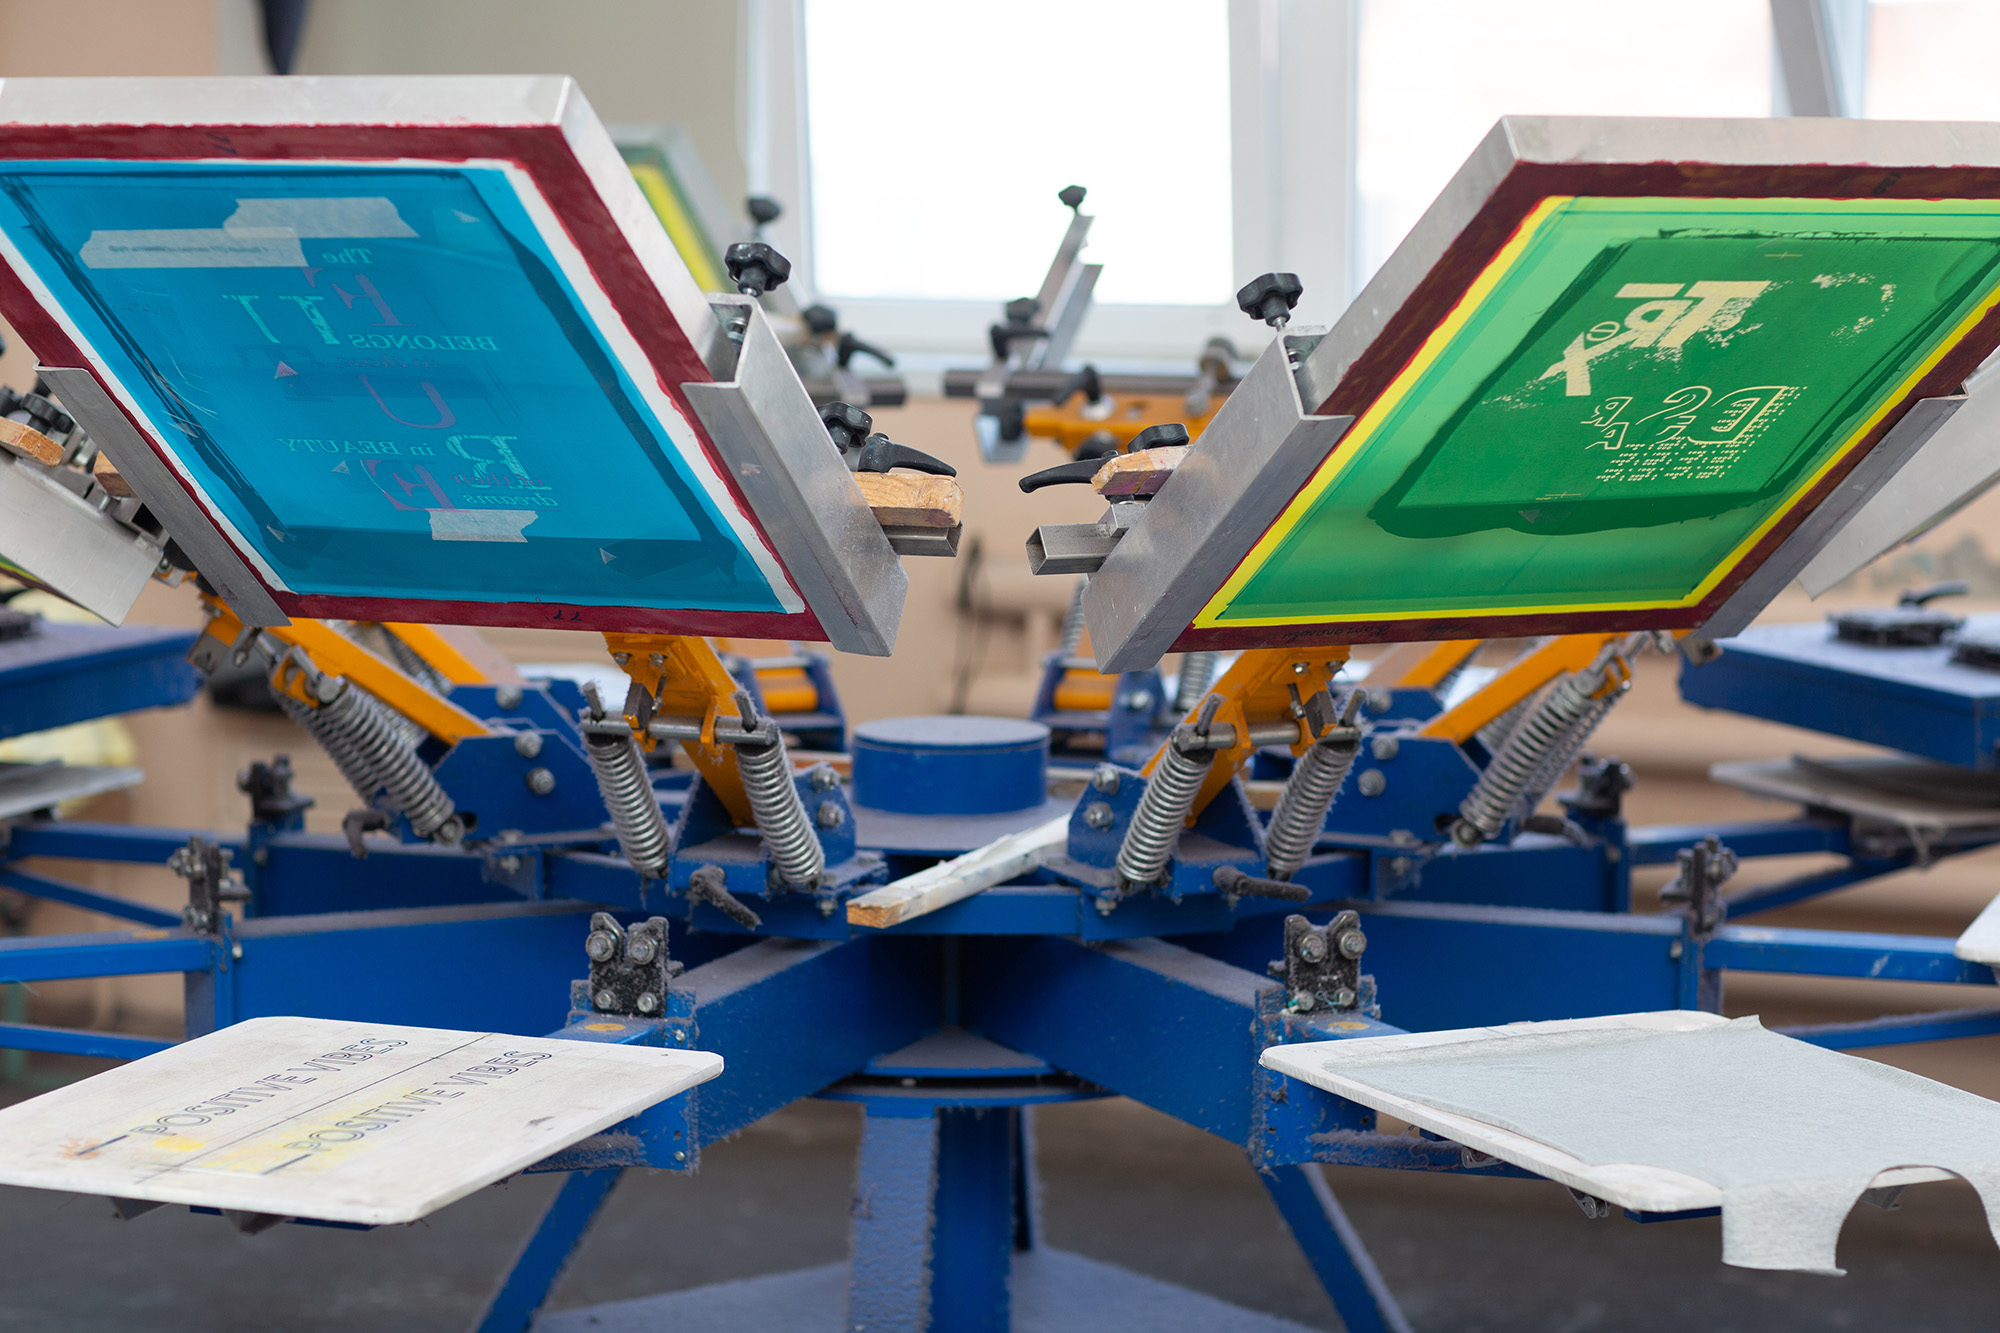
In the world of print design, there’s a term that often gets thrown around: “bleed.” But what exactly is a bleed, and why is it so important in preparing your print files? In this blog post, we’ll explore the concept of print bleeds, their purpose, and why you should always include them in your print designs.
What is a Bleed?
In the simplest terms, a bleed is an area of your design that extends beyond the final trim size of your printed piece. It’s the extra space that ensures there are no unprinted edges or white borders on your finished product. When you create a print file with bleeds, you’re essentially giving the printer some wiggle room to account for minor shifts that can occur during the printing and trimming process.
Why Are Bleeds Important?
Bleeds are crucial for ensuring that your printed piece looks professional and polished. Without them, you run the risk of having unsightly white borders or uneven edges, which can detract from the overall appearance of your design. By including bleeds in your print files, you’re taking the necessary steps to ensure that your final product looks exactly as you intended.
How to Prepare Your Print Files with Bleeds
To prepare your print files with bleeds, you’ll need to follow a few simple steps:
- Set Up Your Document: Start by setting up your document with the correct dimensions and bleeds. Most design software, such as Adobe InDesign or Illustrator, allows you to specify the bleed size when you create a new document.
- Extend Your Design: Once your document is set up, extend your design elements (such as background colors or images) beyond the trim size by the specified bleed amount. For example, if your trim size is 8.5″ x 11″ and your bleed is 0.125″, you’ll want to extend your design to 8.625″ x 11.25″.
- Check Your Margins: Be sure to keep important text and design elements at least 0.125″ away from the trim edge to avoid having them cut off during the trimming process.
- Export Your File: When you’re ready to export your file for printing, be sure to include the bleeds in your final export. Most design software has an option to include bleeds when you export your file as a PDF.
- Review Your File: Before sending your file to the printer, be sure to review it one last time to ensure that all bleeds are included and that there are no errors or issues with your design.
Conclusion
In conclusion, print bleeds are an essential part of preparing your print files for the best possible outcome. By including bleeds in your design, you’re ensuring that your final product looks professional and polished, with no unsightly white borders or uneven edges. So the next time you’re designing a print piece, be sure to include bleeds in your file, and you’ll be well on your way to a successful print project.